Loading models
Introduction
Your program is now ready to render textured 3D meshes, but the current geometry in the vertices and indices arrays is not very interesting yet. In this chapter we're going to extend the program to load the vertices and indices from an actual model file to make the graphics card actually do some work.
Many graphics API tutorials have the reader write their own OBJ loader in a chapter like this. The problem with this is that any remotely interesting 3D application will soon require features that are not supported by this file format, like skeletal animation. We will load mesh data from an OBJ model in this chapter, but we'll focus more on integrating the mesh data with the program itself rather than the details of loading it from a file.
Sample mesh
In this chapter we won't be enabling lighting yet, so it helps to use a sample model that has lighting baked into the texture. An easy way to find such models is to look for 3D scans on Sketchfab. Many of the models on that site are available in OBJ format with a permissive license.
For this tutorial I've decided to go with the Viking room model by nigelgoh (CC BY 4.0). I tweaked the size and orientation of the model to use it as a drop in replacement for the current geometry:
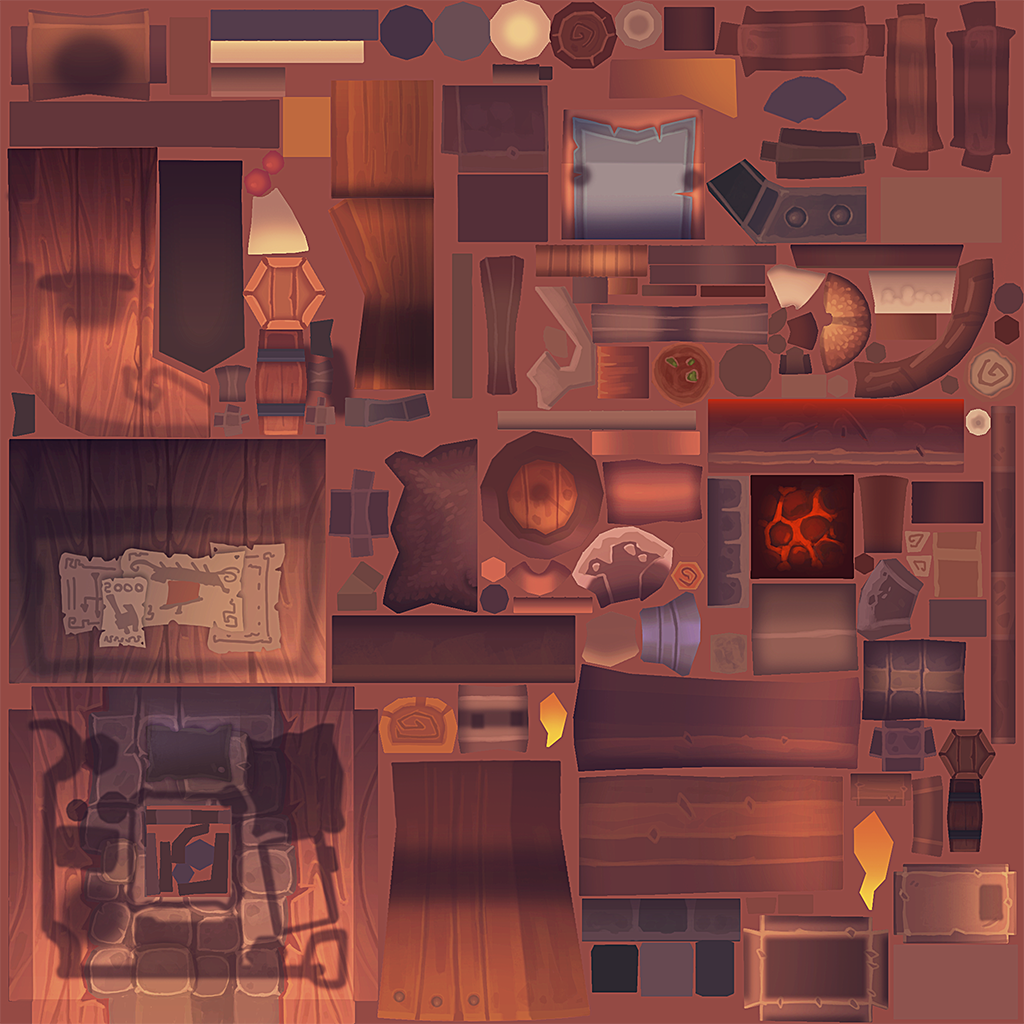
Feel free to use your own model, but make sure that it only consists of one material and that is has dimensions of about 1.5 x 1.5 x 1.5 units. If it is larger than that, then you'll have to change the view matrix. Put the model file in a new model directory next to shader and texture, and put the texture image in the texture directory.
Put two new configuration variables in your program to define the model and texture paths:
private static final String MODEL_PATH = "/model/viking_room.obj";
private static final String TEXTURE_PATH = "/texture/viking_room.png";
And update createTextureImage to use this path variable:
// ...
try (var stream = Application.class.getResourceAsStream(TEXTURE_PATH)) {
    // ...
}
// ...
Loading vertices and indices
We're going to load the vertices and indices from the model file now, so we can remove the private static final VERTICES and INDICES arrays now. Replace them with two non-const class members, and update all references to them:
private float[] vertices;
private int[] indices;
private VkBuffer vertexBuffer;
private VkDeviceMemory vertexBufferMemory;
You should change the type of the indices from short to int, because there are going to be a lot more vertices than 32767. Remember to also change the vkCmdBindIndexBuffer parameter:
deviceCommands.vkCmdBindIndexBuffer(commandBuffer, indexBuffer, 0, VkIndexType.VK_INDEX_TYPE_UINT32);
And the bufferSize calculation in createIndexBuffer:
var bufferSize = indices.length * Integer.BYTES;
We're now going to write a loadModel function that uses the Obj library to populate the vertices and indices containers with the vertex data from the mesh. It should be called somewhere before the vertex and index buffers are created:
private void initVulkan() {
    // ...
    loadModel();
    createVertexBuffer();
    createIndexBuffer();
    // ...
}

// ...

private void loadModel() {
}
A model is loaded into the library's data structures by calling the ObjReader.read static method:
private void loadModel() {
    try (var stream = Application.class.getResourceAsStream("/model/viking_room.obj")) {
        if (stream == null) {
            throw new RuntimeException("Failed to load model");
        }

        var obj = ObjReader.read(stream);
    }
    catch (IOException e) {
        throw new RuntimeException("Failed to load model", e);
    }
}
An OBJ file consists of positions, normals, texture coordinates and faces. Faces consist of an arbitrary amount of vertices, where each vertex refers to a position, normal and/or texture coordinate by index. This makes it possible to not just reuse entire vertices, but also individual attributes.
Faces in OBJ files can actually contain an arbitrary number of vertices, whereas our application can only render triangles. Fortunately, the Obj library has a utility function that triangulates the faces for us:
obj = ObjUtils.convertToRenderable(obj);
This function also helps setting-up the indices array to reuse vertices, and flips UV coordinates to match the Vulkan/OpenGL texture coordinate system, so we don't need to do that on our own. We can now create the vertices and indices arrays:
indices = ObjData.getFaceVertexIndicesArray(obj);

var verticesArray = ObjData.getVerticesArray(obj);
var texCoordsArray = ObjData.getTexCoordsArray(obj, 2);
vertices = new float[obj.getNumVertices() * 8];
for (int i = 0; i < obj.getNumVertices(); i++) {
    // vec3 pos
    vertices[i * 8] = verticesArray[i * 3];
    vertices[i * 8 + 1] = verticesArray[i * 3 + 1];
    vertices[i * 8 + 2] = verticesArray[i * 3 + 2];
    // vec3 color
    vertices[i * 8 + 3] = 1.0f;
    vertices[i * 8 + 4] = 1.0f;
    vertices[i * 8 + 5] = 1.0f;
    // vec2 texCoord
    vertices[i * 8 + 6] = texCoordsArray[i * 2];
    vertices[i * 8 + 7] = 1.0f - texCoordsArray[i * 2 + 1];
}
When you run your program, you should now see the correct result:
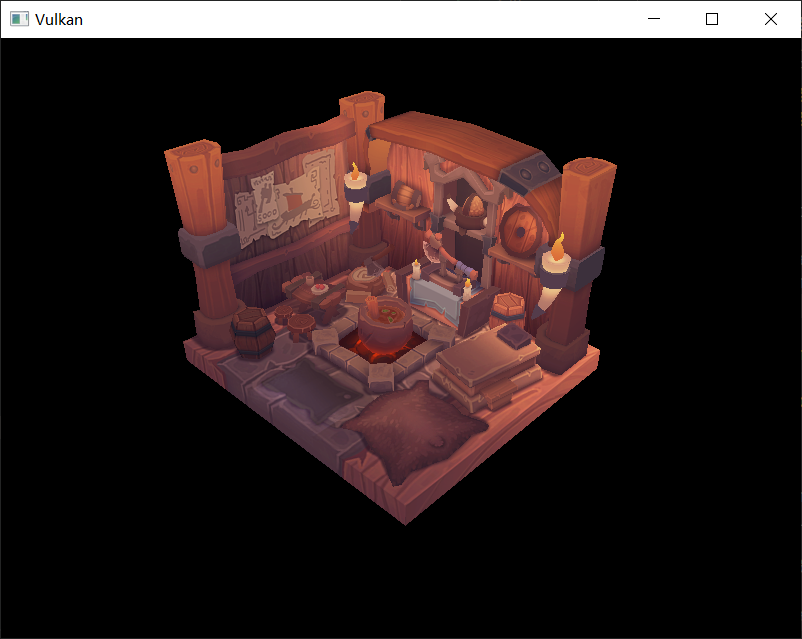
All that hard work is finally beginning to pay off with a demo like this!
As the model rotates you may notice that the rear (backside of the walls) looks a bit funny. This is normal and is simply because the model is not really designed to be viewed from that side.